How to configure Push Notification for iOS (Firebase + APNs)
This guide explains the correct and verified steps to configure iOS push notifications using Firebase Cloud Messaging (FCM) and Apple Push Notification service (APNs), including integration with QuikApp.
Prerequisites
- Apple Developer Account (Paid)
- Firebase account (Gmail ID)
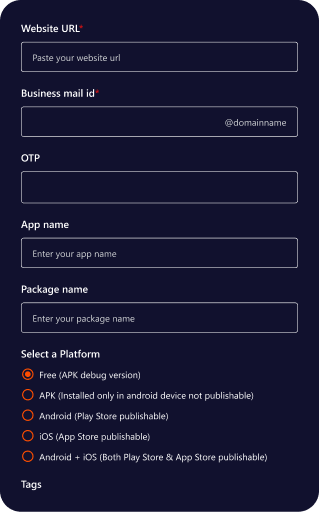
- iOS Bundle ID (must exactly match your app)
- Team ID from Apple Developer account
STEP 1 — Create a Firebase Project
- Sign in to Firebase Console using your Gmail ID.
- Click Add Project.
- Enter a Project name → click Continue.
- Enable Google Analytics (optional).
- Click Create Project and wait for setup to complete.
STEP 2 — Add Your iOS App in Firebase
- Open the Firebase project dashboard.
- Click the iOS icon () to add an app.
- Enter the following details:
- iOS Bundle ID
(Must exactly match the Bundle ID shown in your QuikApp App Info screen) - App nickname (optional)
- App Store ID (optional; required only for App Store–related features)
- Click Register App.
- iOS Bundle ID
- Download GoogleService-Info.plist.
- Upload this file in QuikApp → Firebase Service File (iOS).
STEP 3 — Generate Firebase Admin SDK Configuration File
This file is required for sending push notifications from your backend/server.
- Go to Firebase Console → Project Settings.
- Open the Service Accounts tab.
- Under Firebase Admin SDK, click Generate new private key.
- Confirm and download the JSON file (firebase-adminsdk-xxxxx.json).
- Upload this file in QuikApp → Configuration File section.
Security Note: Never expose this file inside the iOS app or public repositories.
STEP 4 — Enable Push Notifications in Apple Developer Account
- Go to Apple Developer Portal.
- Navigate to Certificates, Identifiers & Profiles → Identifiers.
- Select your App ID.
- Under Capabilities, enable:
- Push Notifications
- Background Modes → Remote notifications
- Click Save.
STEP 5 — Create an APNs Authentication Key (.p8)
Firebase recommends using APNs Authentication Key instead of certificates.
- In Apple Developer Portal, go to:
- Certificates, Identifiers & Profiles → Keys.
- Click the + button.
- Enter Key Name (example: APNs Key).
- Enable Apple Push Notifications Authentication Key (APNs).
- Click Continue → Register.
- Download the .p8 key file (example: AuthKey_ABC123XYZ.p8).
- Note down:
- Key ID
- Team ID
The .p8 file can be downloaded only once.
STEP 6 — Upload APNs Key to Firebase
- Go to Firebase Console → Project Settings.
- Open the Cloud Messaging tab.
- Under Apple App Configuration, upload:
- APNs Authentication Key (.p8)
- Key ID
- Team ID
- Click Upload.
STEP 7 — Enter iOS Push Config in QuikApp
- Open QuikApp → iOS Settings.
- Upload the following files:
- GoogleService-Info.plist
- Firebase Admin SDK JSON file
- APNs .p8 key file
- Enter the following values:
- Key ID
- Team ID
- Click Save to complete the configuration.
Important Notes
Notification Permission (iOS 10+)
- User permission is required to receive notifications
- Ensure your app requests notification permission on first launch
Security Best Practices
- Store .p8 and Firebase Admin SDK files securely
- Never embed server credentials in the app
Recommended Setup
- Use Firebase Cloud Messaging with APNs Auth Key (not certificates)
- One APNs key can be reused across multiple apps under the same Team ID
iOS Push Notifications using Firebase + APNs are now fully configured and ready for use.